Sump Pump Installation
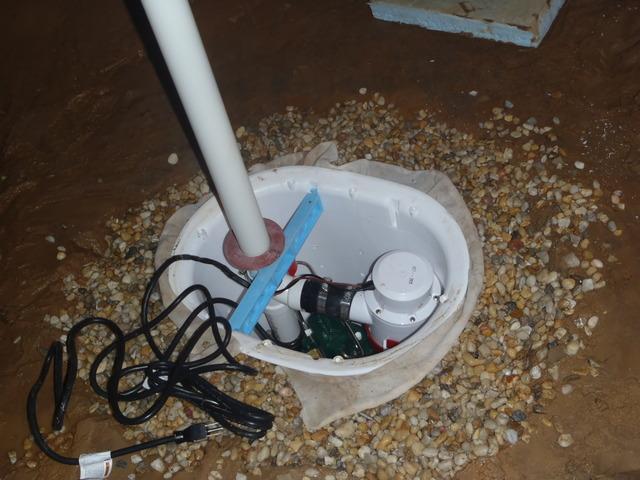
The Dr. Energy Saver Delmarva production crew has dug out a hole in the lowest spot of the dirt floor of this crawl space and have placed the SmartSump sump pump inside. The SmartSump sump pump system is specifically designed for crawl spaces. It has features like an automatic float switch and an airtight lid.

SmartSump Installed
The SmartSump has had its airtight lid installed and now it is time to finish the discharge line.

Running a Discharge Line
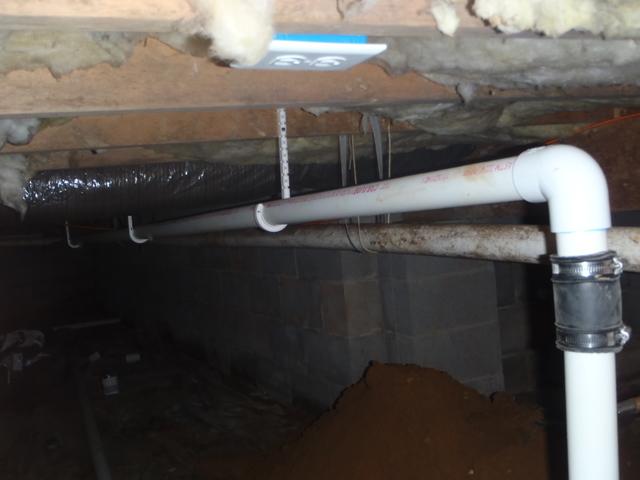
This is a discharge line that the production crew has ran from the SmartSump. It will continue on until it reaches an access point to the outdoors.

Installing a Discharge Line to the Outdoors
The Dr. Energy Saver Delmarva team have ran this discharge line into one of the rim joists where they have cut a hole just large enough for the piping to go through to the outside.

Discharge Line Outdoors
This is a picture of where the discharge line inside the crawl space exits. They have added a connector piece as well as dug out an area for the pipe to lay underground.

Discharge Line Installed Outdoors
Here the crew have connected the necessary length of pipe to drain the unwanted water far enough away from the house so that it doesn't reenter the crawl space.

Adding the Bubbler Pot to a Discharge Line
The production crew is now done with running the discharge line. Here they are adding what is known as the 'bubbler pot'. The bubbler pot is the final piece of the discharge outlet system. It is durable with a grated opening so that water may exit it.

Sump Pump Discharge Line Completed
The production crew has carefully replaced the soil previously dug out to install a discharge line for the SmartSump sump pump drainage system. The 'bubbler pot' has been installed flush with the ground so that it may be mowed over with ease and without damage to the drainage system or the lawnmower.

