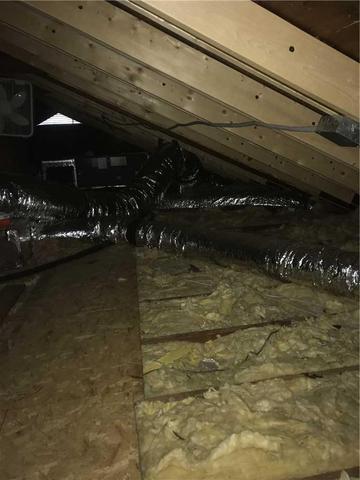
Removing Insulation to start
First, we had to remove this dirty fiberglass insulation out to start sealing air penetration.
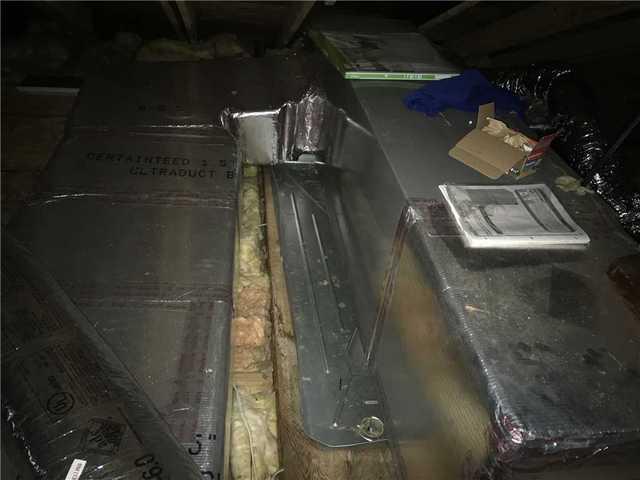
Trunk Line before Encapsulation
Before picture of the trunk lines. Initially, these exposed lines to the attic were generating heat on top of them from the roof deck.
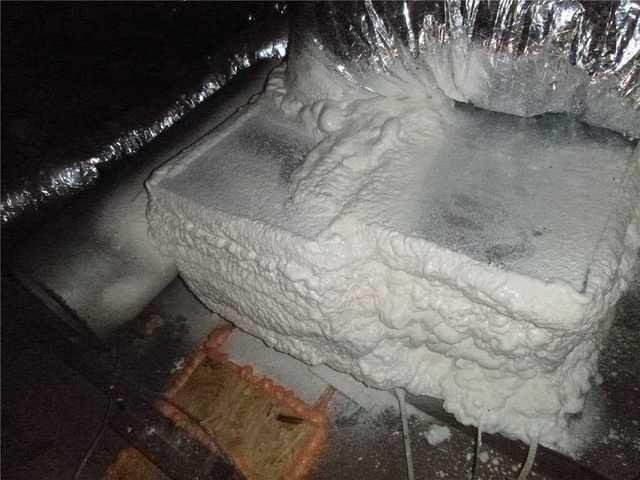
Encapsulated Trunk Lines
After encapsulating the trunk lines, homeowners will see a huge change in how much their air handler runs and steady temperatures inside the home.
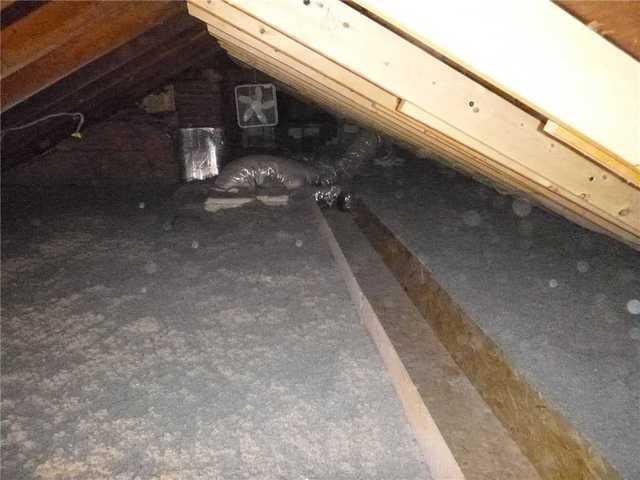
Insulating Attic
After the process of sealing, we then insulate the attic and build a cat walk for whoever services the HVAC system so you can service the system safe and easy.
