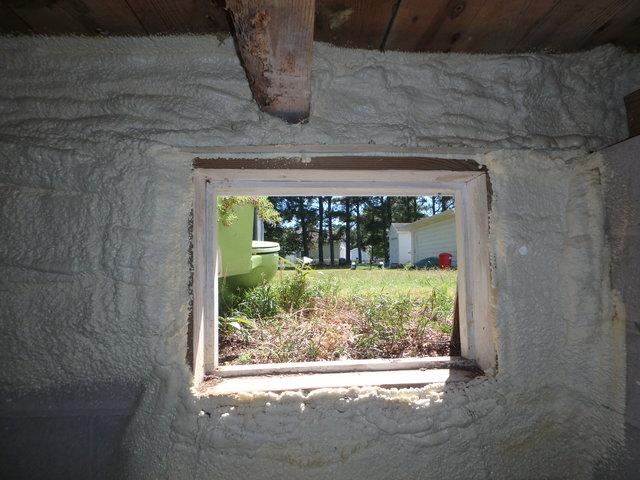
Original Spray Foam Installation
When the homeowner's originally moved in, Spray Foam had already been installed around the walls of the crawl space.
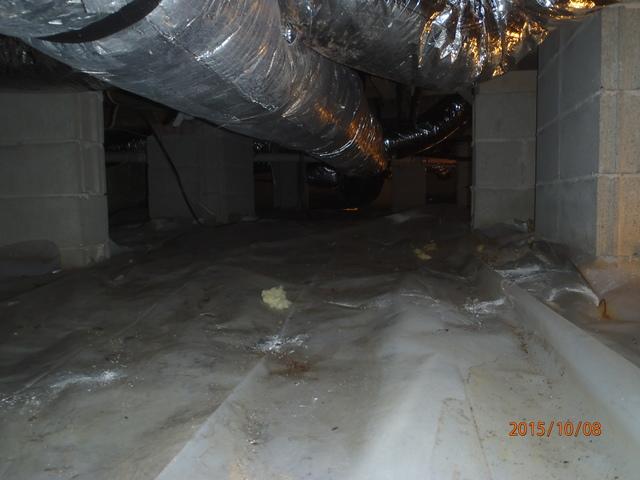
The Floor of the Crawl Space
This photo captures the floor of the dirty crawl space before Dr. Energy Saver Delmarva encapsulated it.
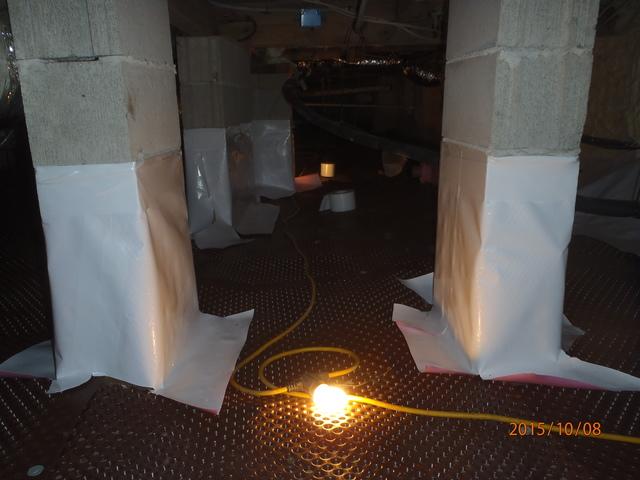
Installing Drainage Matting
The production team has begun installing the drainage matting along the floor of the crawl space as well as the CleanSpace liner on the pier wraps.
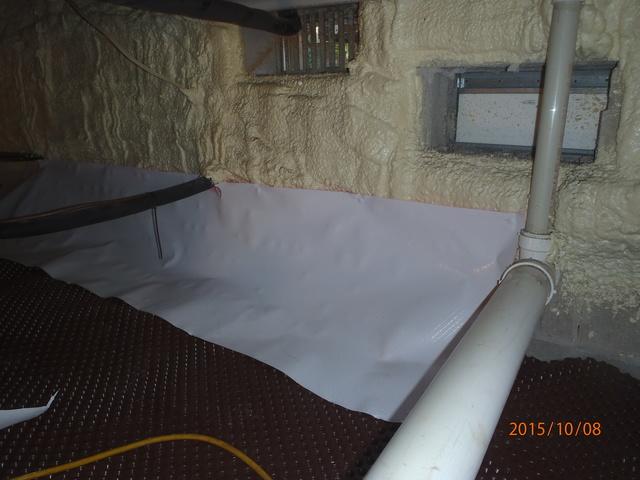
Installing Drainage Matting & CleanSpace
This photo captures another angle of the crawl space being installed with drainage matting and CleanSpace liner.
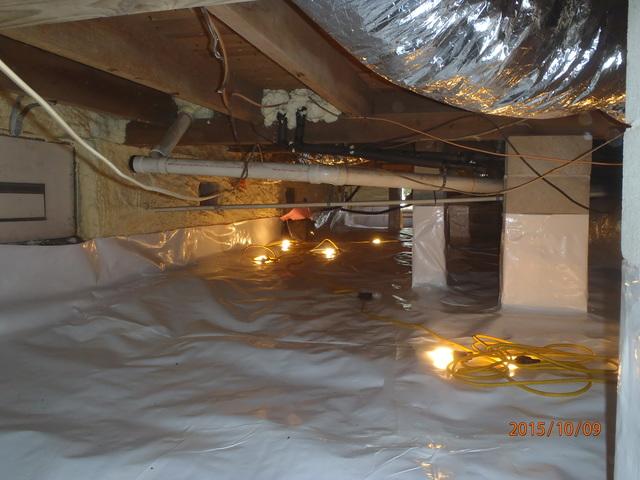
The Encapsulation Process
Finally, the encapsulation process is complete! The drainage matting and CleanSpace liner have been installed along the floor of the crawl space.
