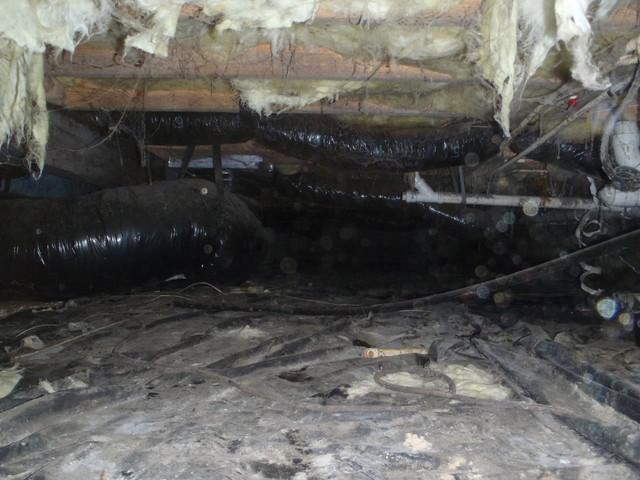
Sagging Insulation, Humidity & Dirt... Oh My!
Wow! What a great photo capturing a crawl space in need of help! These homeowner's desperately need a solution to their damp crawl space.

Installing Drainage Matting
Dr. Energy Saver has begun installing drainage matting along the dirt floor of the crawl space.

Installing SilverGlo
SilverGlo has been installed along the walls of the crawl space to help keep the crawl space properly insulated.

Installing a Dehumidifier
Dr. Energy Saver has installed a dehumidifier in the crawl space to help lower humidity levels.

Encapsulating the Crawl Space
The crawl space has been entirely encapsulated and finished with a CleanSpace microbial white liner.

The Old Attic Insulation
This photo captures the old attic insulation that needs to be replaced.

Air Sealing the Attic Floor
Dr. Energy Saver has begun air sealing the attic floor.

Installing the Blown-in Cellulose Insulation
After air sealing, Dr. Energy Saver begins to install the Blown-in Cellulose Insulation into the attic.

Attic Insulation Complete!
Ta Da! The attic is now properly air sealed and insulated thanks to Dr. Energy Saver Delmarva.
